 US Dollars
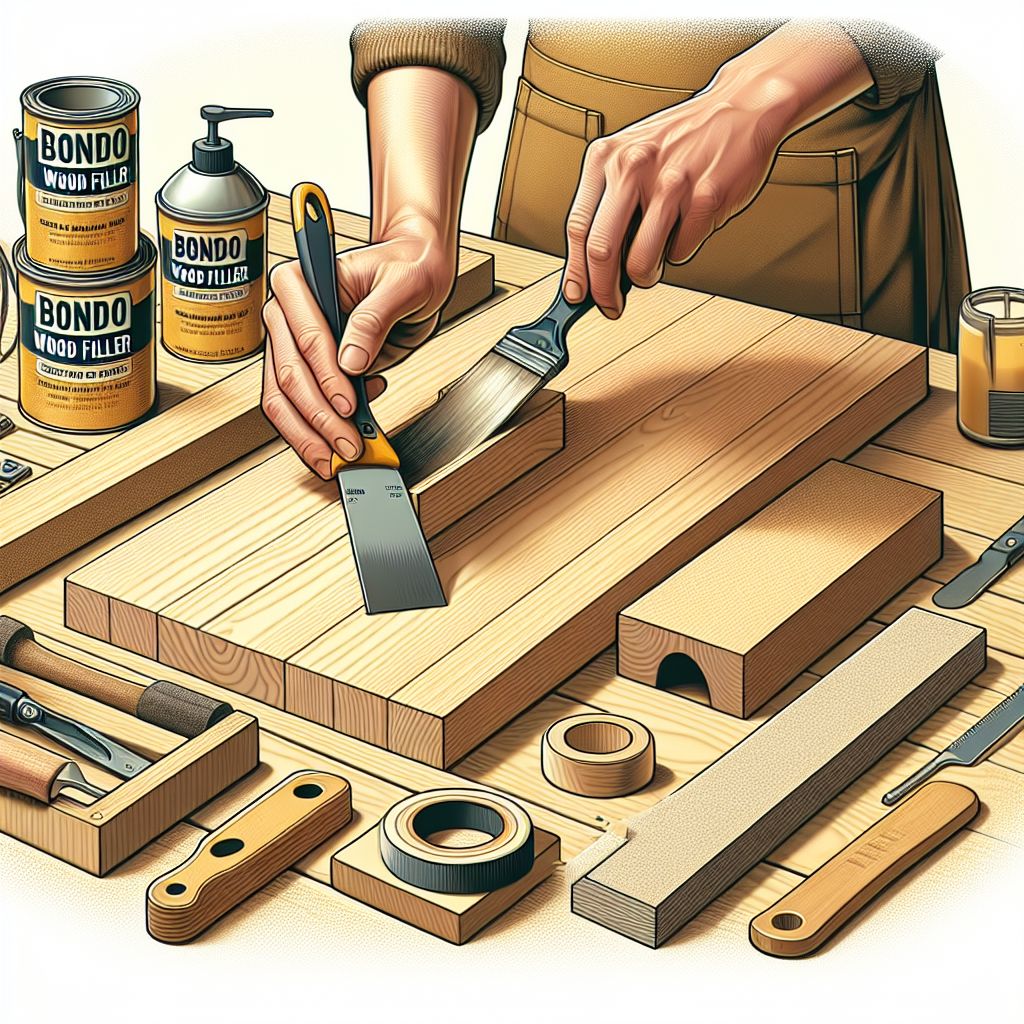
Using Bondo Wood Filler: A Step-by-Step Guide
May 23rd 2025
Using Bondo Wood Filler: A Step-by-Step Guide
At Strobels Supply, we understand the importance of ensuring that your woodworking projects not only look good but also stand the test of time. When it comes to repairing wooden surfaces, particularly in furniture or cabinetry, Bondo Wood Filler is a reliable choice that provides both durability and ease of use. This guide will walk you through the steps needed to effectively use Bondo Wood Filler for your next project, ensuring a professional finish every time.
What You’ll Need:
- Bondo Wood Filler
- Mixing container
- Stirring stick or putty knife
- Sandpaper (various grits)
- Putty knife or applicator
- Clean cloth
- Paint or wood stain (optional)
- Safety gear (gloves, mask)
Step 1: Prepare the Surface
Before applying any filler, it is crucial to prepare the surface. Start by cleaning the area of any dust, dirt, or old finish. Use a clean cloth to wipe down the surface, ensuring that it is free from debris. If the damage is extensive, you may need to sand around the area to create a smooth surface for the filler to adhere to.
Step 2: Assess the Damage
Evaluate the area that needs repair. If there are large gaps, chips, or cracks, Bondo Wood Filler is ideal. For smaller blemishes, you may want to consider a different type of filler or putty.
Step 3: Mix the Bondo Wood Filler
Bondo Wood Filler comes in a convenient two-part formula—resin and hardener. Follow the manufacturer’s instructions for the appropriate mixing ratio, typically 1 part hardener to 5 parts filler. In your mixing container, squeeze out the desired amount of filler and add the hardener. Use your stirring stick or putty knife to mix the components thoroughly until you achieve a uniform color, which usually takes about 30 seconds to 1 minute.
Step 4: Apply the Filler
Using your putty knife, apply the mixed Bondo Wood Filler to the damaged area. Press the filler firmly into the hole, crack, or gouge, ensuring it is packed tightly. Overfill the area slightly, as the filler will shrink as it cures. Use the edge of the putty knife to smooth the surface, allowing it to closely match the surrounding wood.
Step 5: Allow to Cure
Following application, it is important to allow the Bondo Wood Filler to cure completely. Cure times can vary depending on temperature and humidity, but it typically takes 15 to 30 minutes at room temperature. Avoid touching the filler until it is fully cured to ensure optimal adhesion and durability.
Step 6: Sand the Filler
Once cured, proceed to sand the area with your choice of sandpaper. Start with a coarser grit (around 80-120 grit) to shape and level the filler, and finish with a finer grit (around 220 grit) for a smooth finish. Sand until the area is flush with the surrounding wood, taking care to blend the edges seamlessly.
Step 7: Finish the Surface
After sanding, you may choose to apply paint or wood stain to achieve the desired aesthetic. If you plan to paint the surface, a primer may be necessary beforehand. Apply your chosen finish following the manufacturer’s instructions for the best results.
Conclusion
Using Bondo Wood Filler can transform even the most challenging repairs into seamless finishes. By following these simple steps, you can ensure a professional-looking result that enhances the longevity of your woodworking projects. Whether you are filling in cracks in furniture or repairing your wooden surfaces, Bondo Wood Filler stands out as an industry-leading solution.
For all your industrial supply needs, including Bondo products and other high-quality brands, visit Strobels Supply today and give your projects the care they deserve!